
Tips for Better Brows
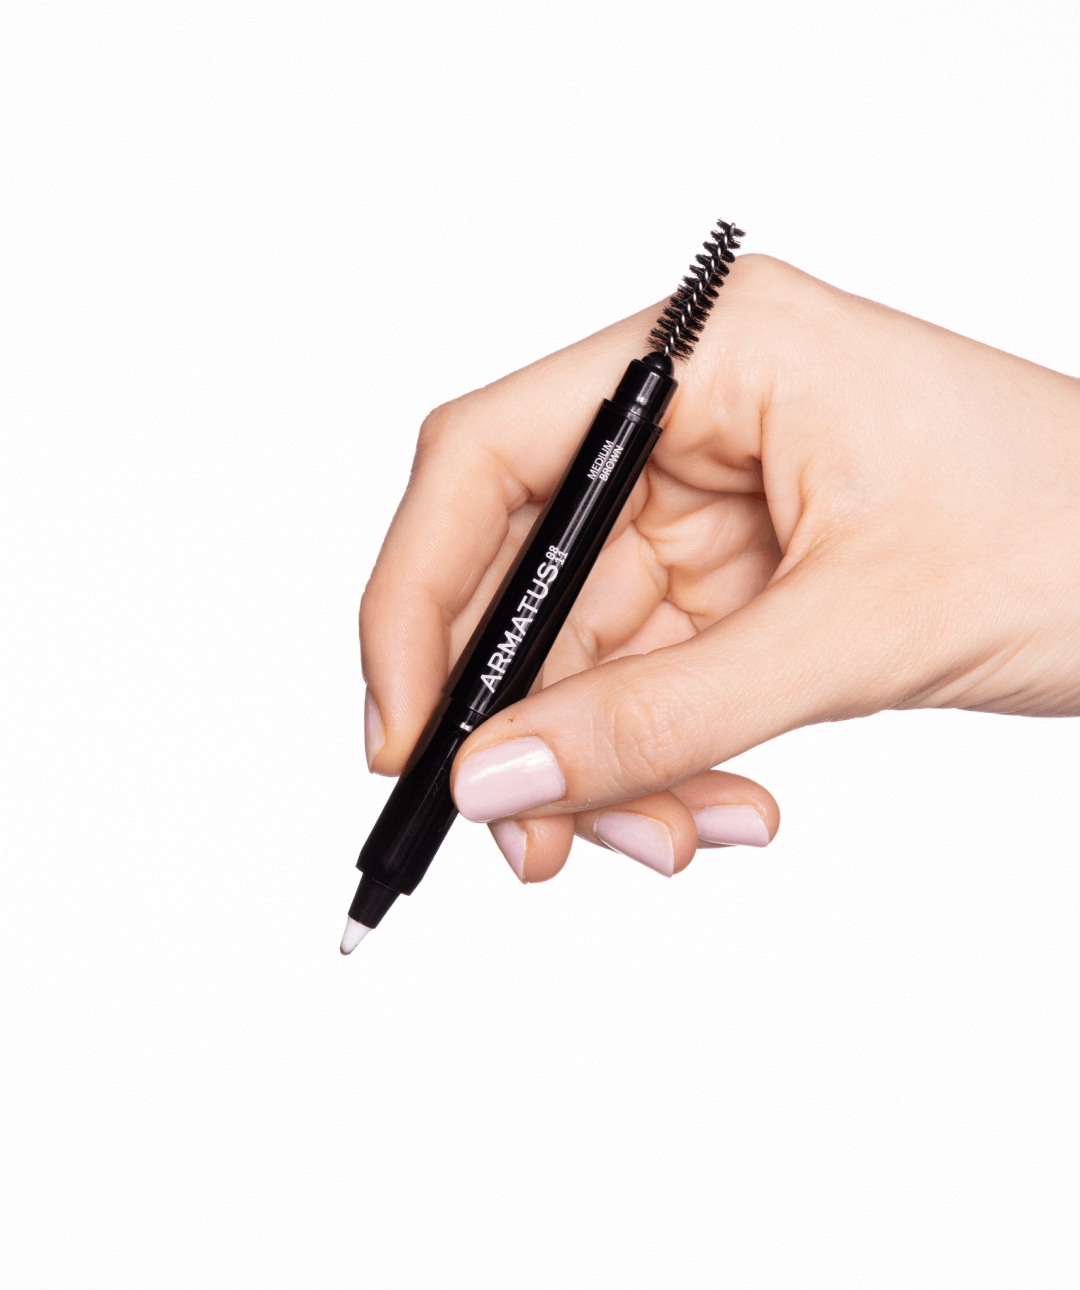
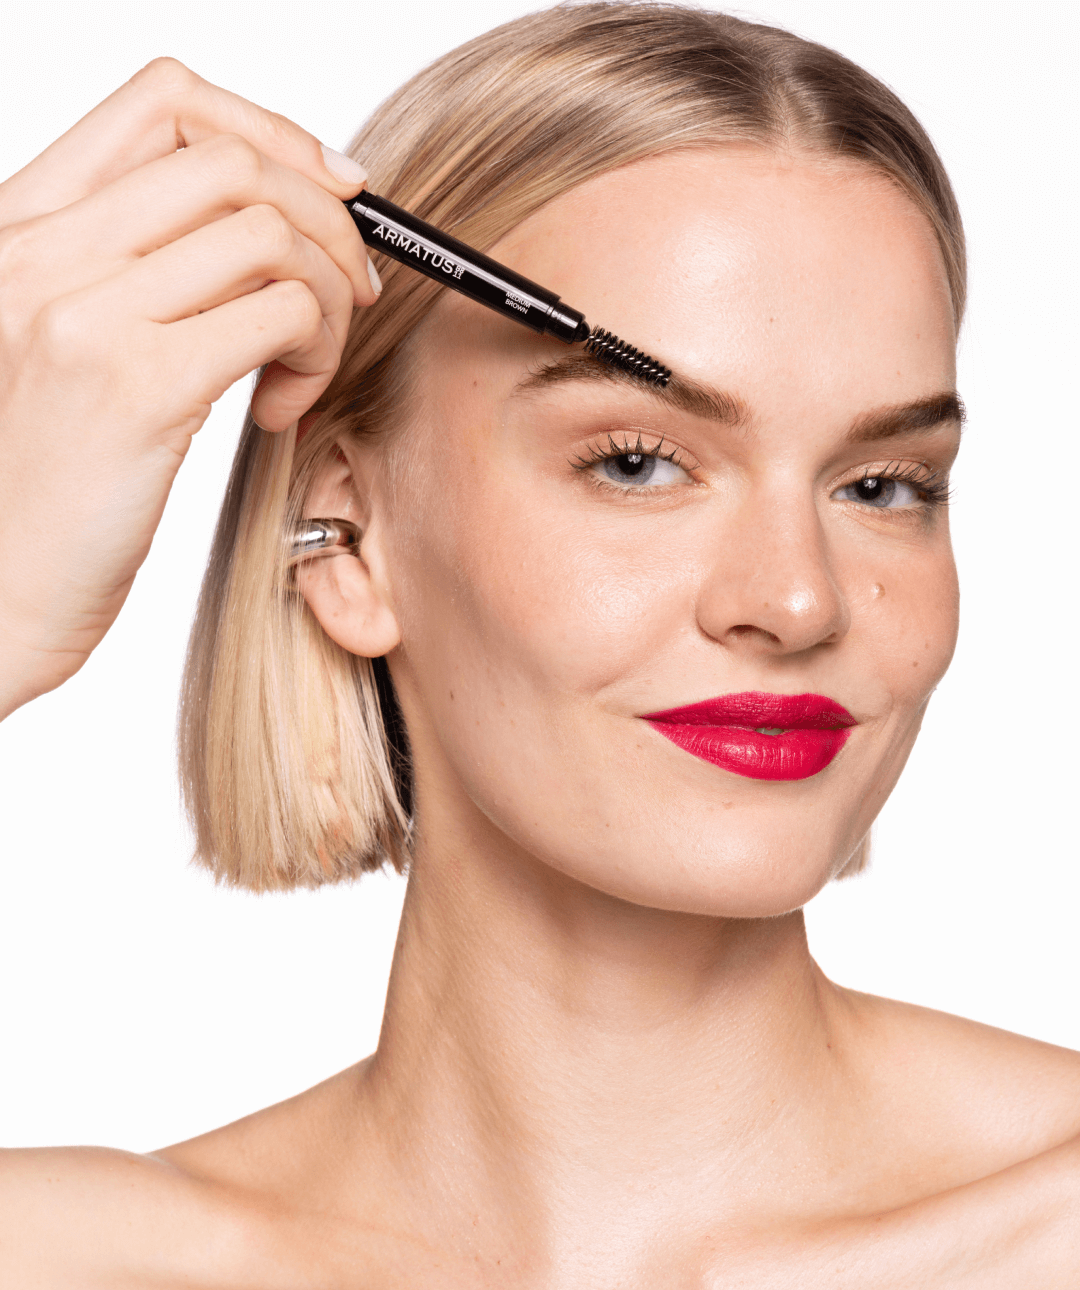
How To Use the Brow Pen
-
Clean your brows - you want your brows to be free from makeup & oils
-
Remove both the ballpen and spooly cap - you will need to blend out your brows before the quick-set formulation sets
-
Shake pen - to ensure quick-set formulation is fully mixed
-
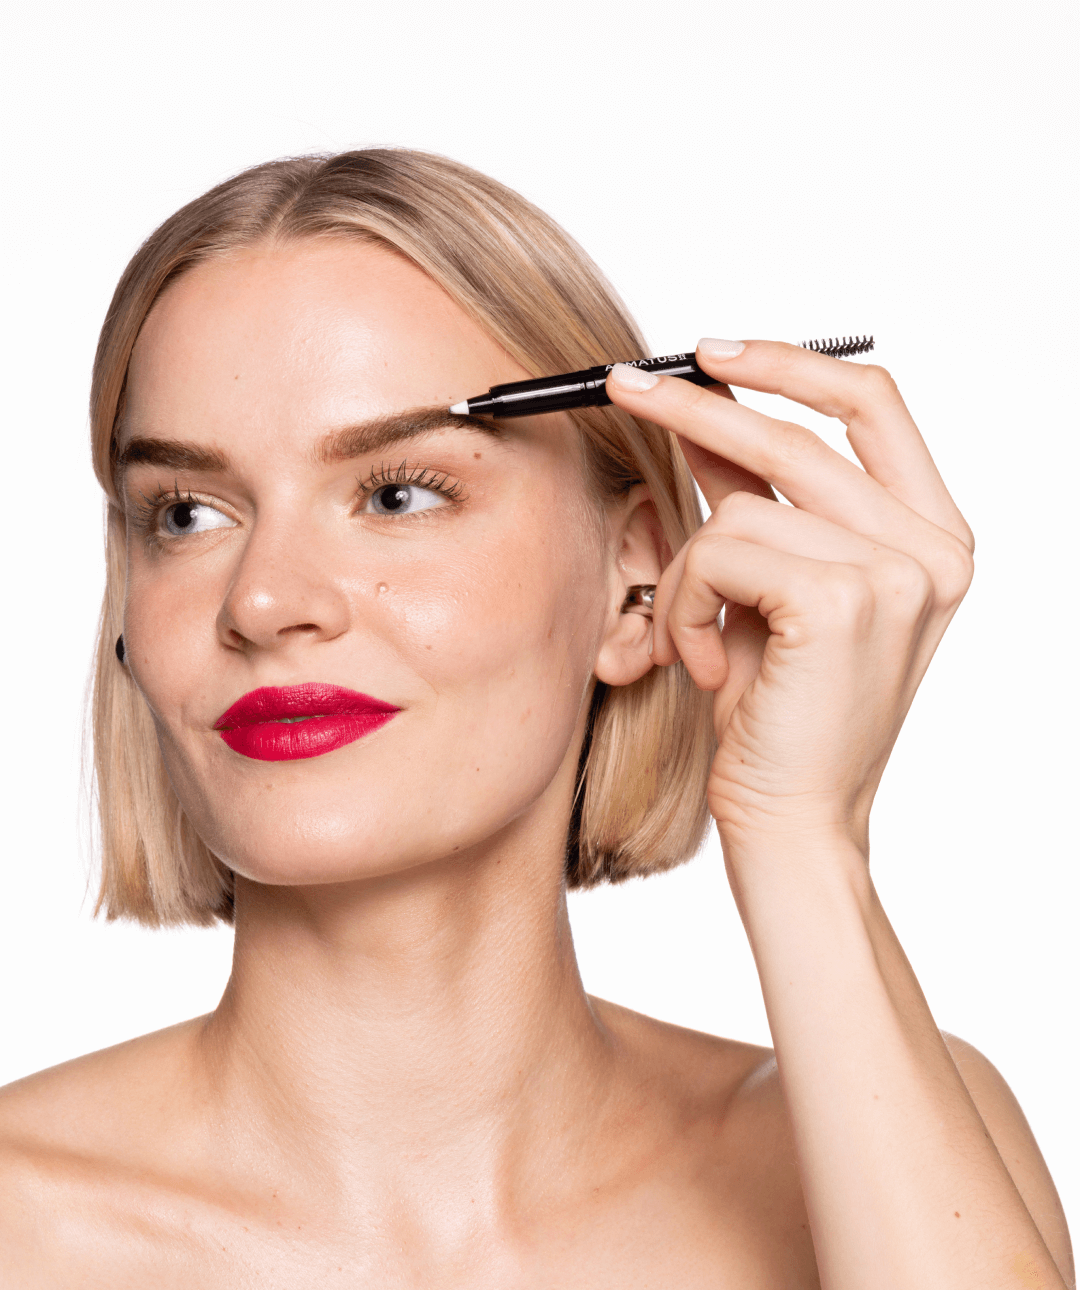
Apply with pen at a downward angle to your brow - start in the middle of your brow where it’s most forgiving and then work your way out to the tail and then the end near the middle of your face.
-
Blend & smooth - Quickly blend & smooth out any areas you want to soften before the quick-set formula fully sets up
-
See the difference! Your new brows will elevate and redefine your look in seconds!
Key tips

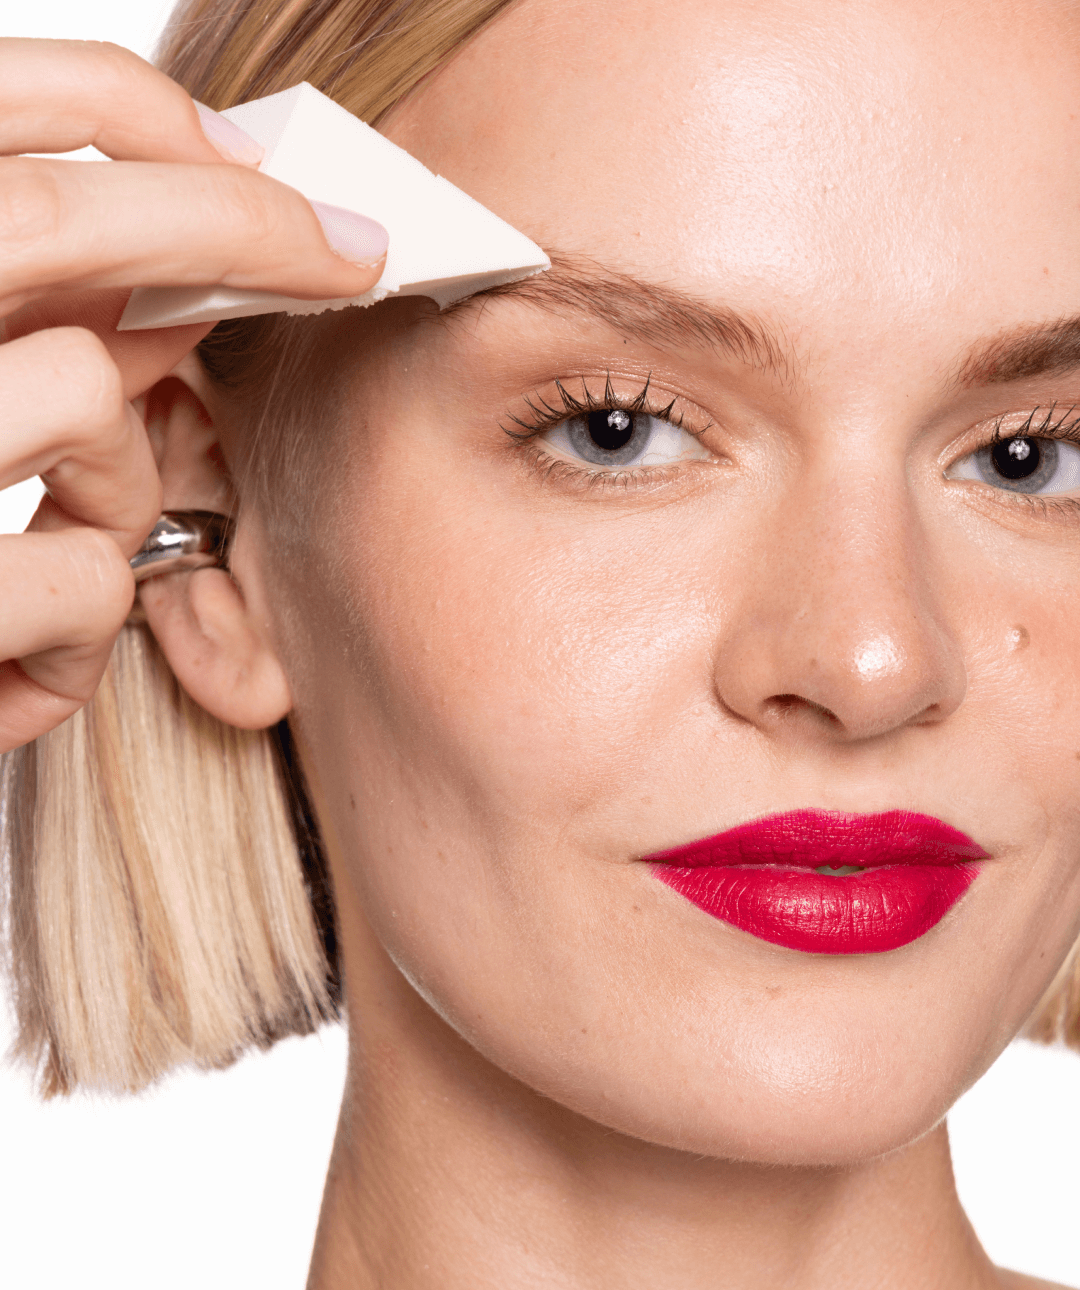
01. Start with Clean, Dry Skin
For best results, make sure your brows are oil-free/ product-free before applying. If you’ve used moisturizer or sunscreen, gently wipe or sponge first. This helps the ink apply evenly, allowing it to properly adhere to your skin without a barrier, allowing it to last longer!
02. Light, Feather Strokes = Natural Brows
Use small, hair-like strokes in the direction of natural brow growth to create a realistic, fuller look. Hack: you can use multiple shades to create a dimensional effect!
03. Less is More! Build as You Go
Start with a lighter shade and a light touch and build up the intensity gradually. This keeps your brows looking soft and natural instead of harsh or overfilled.
How to Get Better Brows
Tips from a Professional Make-up Artist

Sparse Hair
Use a shade lighter than natural hair and draw zig-zags (connected strokes going both directions) in the center of the brow and quickly brush out with the spooly to blend out. Draw the tail out in one-directional strokes and immediately brush out with spooly, and draw strokes going up at the front and immediately brush out with the spooly. Fill in where necessary.

No Hair
Take the lightest shade and fill out the base foundation shape of the entire brow. We suggest drawing the bottom of the brow line, then the middle, tail and front. Use the next darkest shade and create depth to the shape by drawing in hairstrokes from the middle section, then tail and front, respectively brushing out each section with the spooly.

Use 2 Shades
Having a lighter and darker shade not only accommodates your seasonal shades, but you can use them alternatively to create a more dimensional brow!

Full-Brows Just Wanting Fill-In
Create short strokes in desired areas that are lacking hair by lightly flicking the pen upwards and outwards throughout the brow. Hack: take a shade lighter and just scribble it in areas needing a fill for ease of use!
Easy Brow Hack
Take the lightest shade and fill out the base foundation shape of the entire brow. We suggest drawing the bottom of the brow line, then the middle, tail and front. Use the next darkest shade and create depth to the shape by drawing in hairstrokes from the middle section, then tail and front, respectively brushing out each section with the spooly.

Unsure of Where the Front of Your Brows Should Start?
Having a lighter and darker shade not only accommodates your seasonal shades, but you can use them alternatively to create a more dimensional brow!
How to fix common mistakes + new usage ideas!
-

Easy Brow Hack
Unsure of what to use where? Fail-proof tip- use lighter shades towards the center of your face and the darker shade on the tail portion. This will create definition and will prevent brief from feeling too heavy!
-

Unsure of where the front of your brows should start?
Go halfway to where your nose starts and your eye starts! Use a lighter shade and use feathering strokes at the front to avoid a harsh unnatural brow shape!
-

Using 2 shades
Having a lighter and darker shade not only accommodates your seasonal shades, but you can use them alternatively to create a more dimensional brow!
-

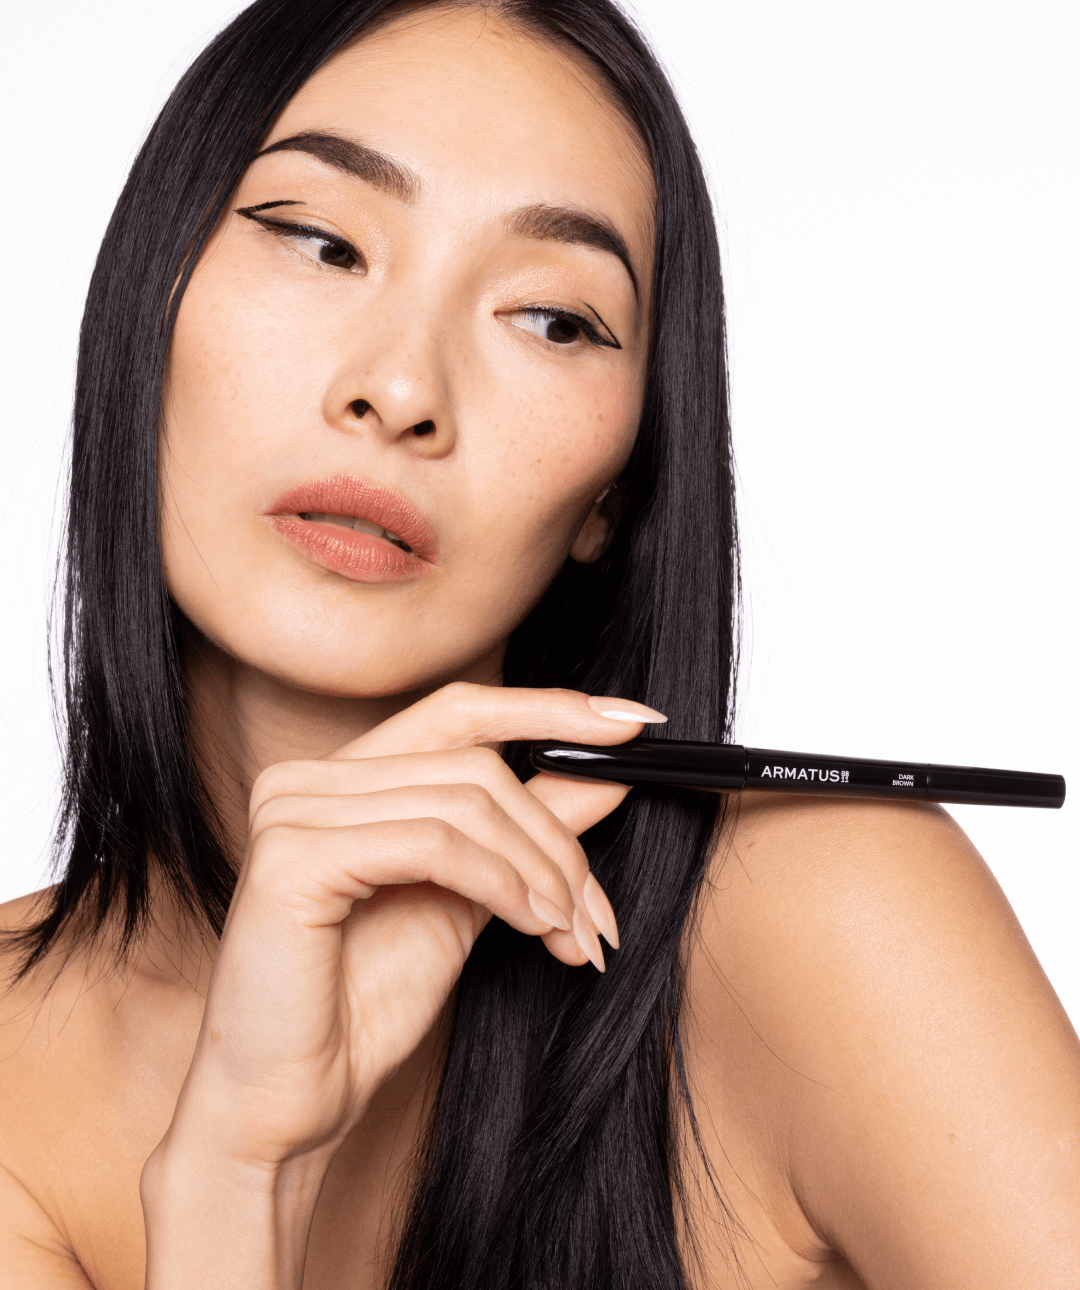
Heavy-hand?
The ballpen solves for that! Just use your exact brow shade or one lighter and you'll never go too dark!
-

Freckle-hack
Hold the pen at a perpendicular angle to your face and create a sprinkling of dots over your nose bridge and across the cheekbone. Start with less density and fill in. You can also create a little cluster and tap them out to blur them for a softer effect.
-

Beauty marks
Just stamp a dot where you see fit and blot with finger before product sets for a more subtle effect!


